You might think fixing your climate control system requires expert knowledge, but you'd be surprised how much you can troubleshoot on your own. Start by checking your thermostat settings and power supply – it's often as simple as that.
If you're still facing issues, don't overlook the basics like inspecting air filters and evaluating airflow blockages. Each step can lead you closer to a solution, without the need for a professional call-out.
Curious about what to do if these steps don't resolve the issue? Well, that's where things get interesting, and a deeper understanding of your system's intricacies comes into play.
Key Takeaways
- Regular maintenance and filter replacement enhance AC efficiency and indoor air quality.
- Resetting and troubleshooting smart thermostats can resolve connectivity issues quickly.
- Checking and replacing blown fuses ensure the system's electrical connectivity.
- Professional HVAC maintenance optimizes system performance and prevents future breakdowns.
Verify Thermostat Settings
Checking your thermostat settings is an essential first step in troubleshooting your AC's cooling issues. Confirm the thermostat is in cooling mode; this tells your AC to start lowering the room's temperature.
Next, verify the temperature setting is set lower than the current room temperature. If it's not, your AC won't kick in. Then, peek at the fan setting. It should be on 'auto' or 'on' to maintain proper airflow.
Also, double-check that your thermostat isn't stuck in a programming mode or hold status, which could prevent cooling. Finally, look for any error messages on the thermostat display. These could hint at communication issues between your thermostat and AC.
Addressing each of these points can help resolve cooling problems without needing to dive deeper into system troubleshooting.
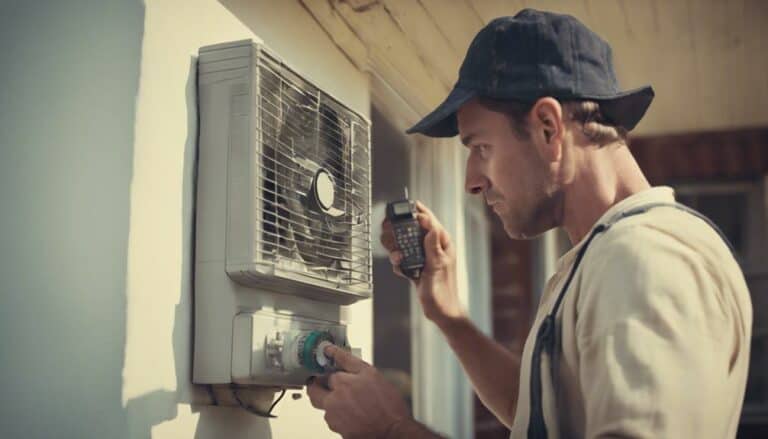
Check Power Supply
Before you worry too much, let's make sure your system's getting the juice it needs.
First off, check your circuit breakers to see if anything's tripped — this could be cutting power to your climate control.
Next, make sure the outlet your thermostat's plugged into is actually working; sometimes, the simplest solutions are the ones we overlook.
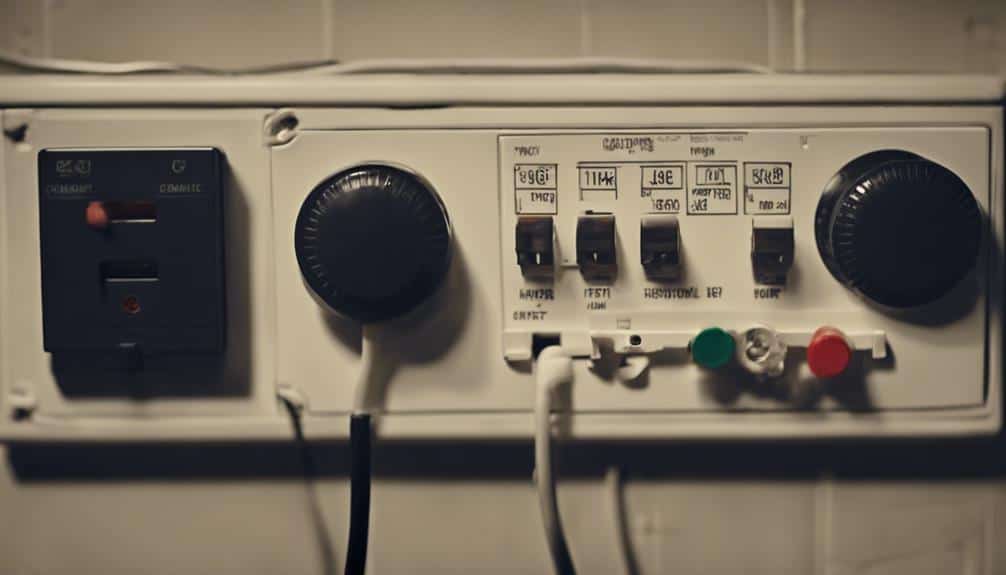
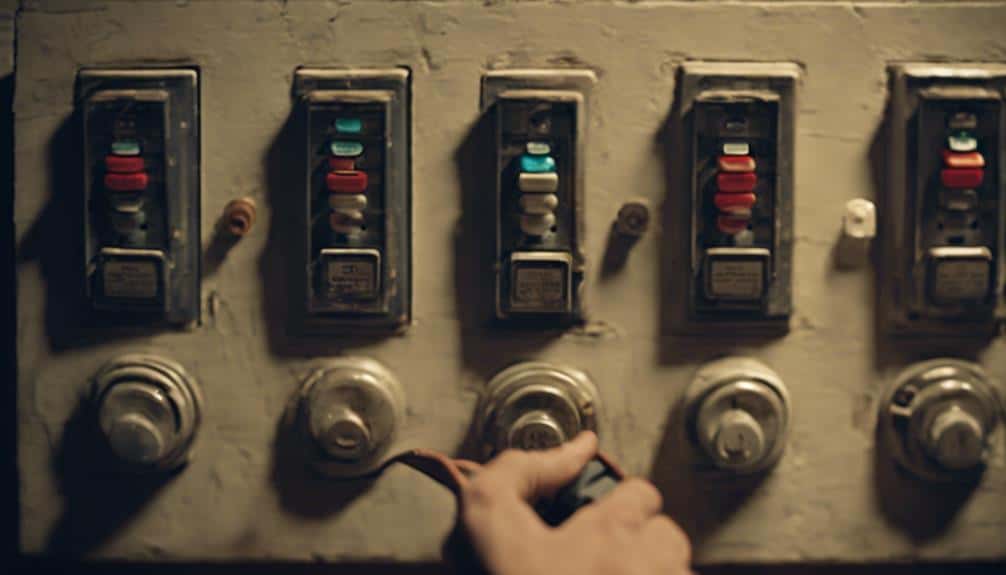
Inspect Circuit Breakers
To guarantee your HVAC system's effectiveness, start by inspecting the circuit breaker panel for any tripped breakers. This simple step lets you troubleshoot power supply problems efficiently. If you find a tripped circuit breaker, resetting it by flipping the switch to the 'on' position may resolve the issue. However, if it trips again, this could signal a more significant electrical issue requiring professional attention.
| Status | Action Required | Next Steps |
|---|---|---|
| Circuit Breaker OK | None | Proceed to verify outlet functionality |
| Tripped | Reset to 'On' | Monitor for reoccurrence |
| Repeated Tripping | Seek professional attention | Avoid using until resolved |
Verify Outlet Functionality
Confirm your thermostat receives power by verifying the outlet's functionality with a voltage tester. This simple tool can quickly show if there's power availability.
Validate the outlet is giving out the correct voltage, typically around 120 volts, for your thermostat. Sometimes, the culprit is a tripped circuit breaker or blown fuses cutting off power to your outlet. Don't overlook a wall switch that might control the outlet, accidentally turning off your thermostat.
If you've ticked all these boxes and the outlet still isn't working, it's time to suspect wiring issues. At this stage, it's wise to call in an electrician. Handling electrical problems yourself can be risky.
Inspect Air Filters
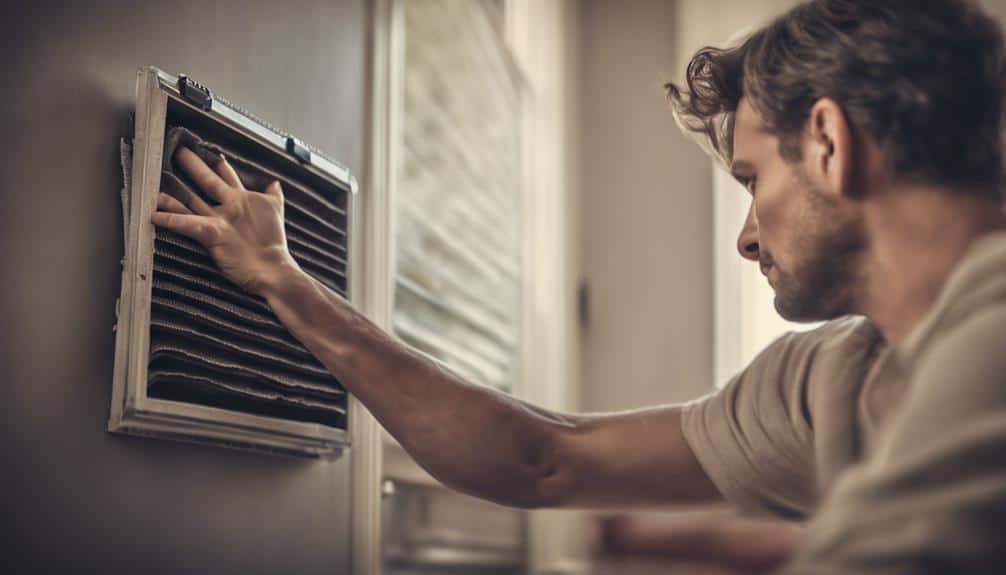
Next up, let's tackle your air filters.
You'll need to check and possibly replace them if they're dirty or not fitting properly.
This simple step can make a big difference in your system's performance and air quality.
Clean or Replace Filters
Ensuring your air filters are clean can greatly boost your AC's efficiency and improve indoor air quality. Dirty or clogged air filters restrict airflow by up to 20%, making your system work harder and increasing energy bills. Check your filters every 1-3 months, replacing them if they're dirty to maintain ideal airflow and AC efficiency. High-efficiency filters, while lasting longer, should still be replaced every 6-12 months. Regular filter maintenance prevents dust buildup on evaporator coils, ensuring your system cools efficiently.
| Aspect | Benefit | Maintenance Frequency |
|---|---|---|
| Airflow | Improves AC efficiency | Every 1-3 months |
| Indoor Air Quality | Reduces allergens | As needed |
| Energy Bills | Lowers costs | Every 6-12 months |
| Evaporator Coils | Prevents dust buildup | Check regularly |
Assess Filter Fit
After cleaning or replacing your air filters, it's crucial to check that they fit correctly to maintain your HVAC's efficiency. Ill-fitting filters can lead to air leaks and reduced system performance, compromising both air quality and your comfort.
Here's how to guarantee a perfect fit for efficient airflow:
- Confirm the correct size: Make sure the filters match the specifications for your system to guarantee optimal HVAC operation.
- Inspect for gaps: A snug fit prevents debris from bypassing the filter, keeping your air clean.
- Check the seal: Make certain there are no spaces around the edges where unfiltered air might enter, maintaining cleaner circulation.
Evaluate Airflow Blockages
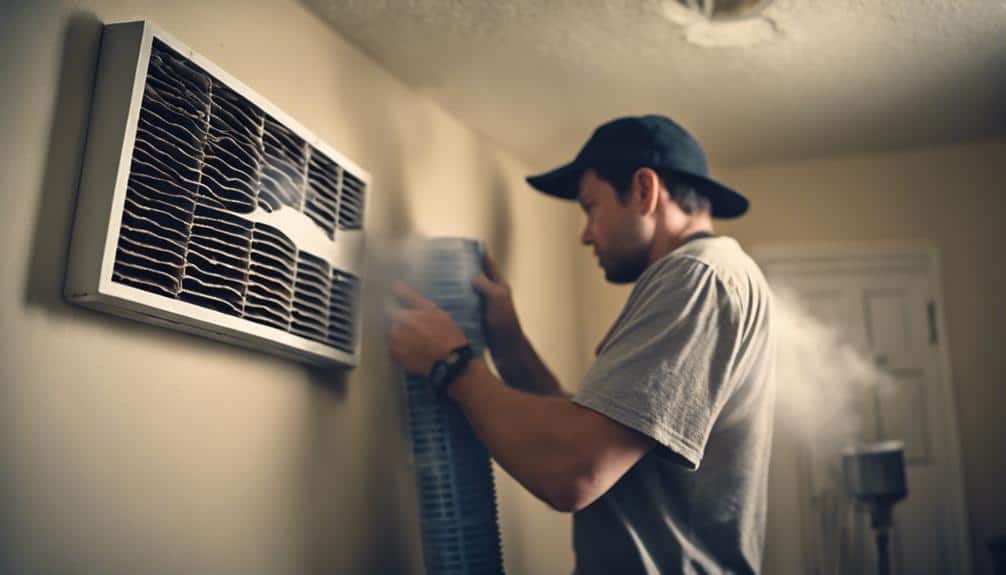
To effectively troubleshoot climate control issues, it's important to start by checking for any airflow blockages. First, make sure air vents or registers are open and free from obstructions. A quick look can reveal if furniture or curtains are sneakily blocking the flow.
Next, inspect the air filter for dirt and debris. A clogged filter isn't just a nuisance; it restricts airflow, making your system work harder than it should. Don't forget to check around the outdoor unit. Plants, debris, or even a fence too close can impede airflow, putting a strain on your system.
Lastly, verify that the ductwork is clean and clear. Blockages here can seriously hinder air circulation, leaving some rooms too hot or too cold.
Assess HVAC System Switches
Have you checked if all switches related to your HVAC system are properly set to 'on'? It's a simple step that's often overlooked but critical in troubleshooting your climate control issues. Confirming the power supply to your air conditioning system isn't interrupted by a tripped circuit breaker or a switched-off emergency shut-off switch is essential.
- Verify the thermostat settings: Make sure it's in the correct cooling or heating mode to match your desired temperature.
- Inspect the circuit breaker and fuse box: Make sure they haven't tripped or blown, disrupting power to your HVAC unit.
- Check the emergency shut-off switch: It should be in the 'on' position to allow power to your system.
Taking these steps can often solve seemingly complex problems without the need for professional intervention.
Clean Condenser Coils
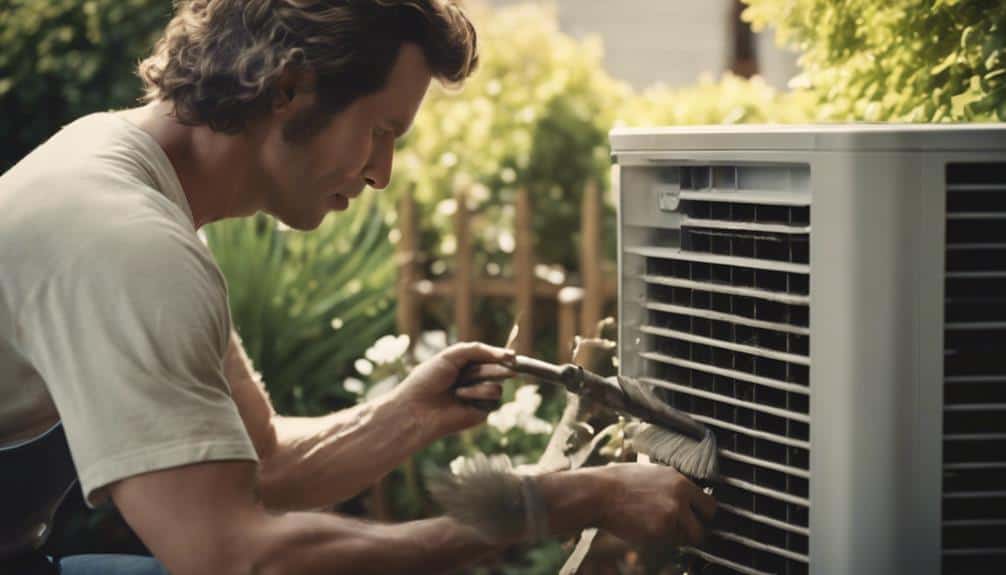
Nearly a third of your AC's efficiency can plummet due to dirty condenser coils, making their regular cleaning essential. Dirty coils can severely impact heat transfer, leading to a spike in energy consumption and a drop in cooling performance. By cleaning condenser coils, you're not just enhancing your air conditioner's ability to cool; you're also extending its lifespan and ensuring efficient cooling.
| Step | Tool | Benefit |
|---|---|---|
| Inspect Coils | Eyes/Flashlight | Identify dirt and debris |
| Soft Cleaning | Soft brush/Vacuum | Gently remove loose particles |
| Deep Cleaning | Professional Service | Thoroughly cleanse coils |
| Regular Check-ups | Calendar Reminder | Prevent future buildup |
| Measure Efficiency | Energy Usage Monitor | Confirm improvement in cooling |
Test System Fuses

After ensuring your condenser coils are clean for peak efficiency, it's important to also check your AC's electrical components, starting with the system fuses. Here's how to do it right:
- Locate the AC system fuses in the fuse box for testing.
- Use a multimeter to test for continuity. A lack of continuity suggests a blown fuse, indicating an electrical issue.
- If you find a blown fuse, replace it with one of the correct amperage to get your AC system back up and running.
Troubleshooting your AC's electrical issues by testing the system fuses is a straightforward step. It's about ensuring connectivity and resolving any potential electrical problems that might be hindering your climate control efforts. Keep a multimeter handy and remember, safety first!
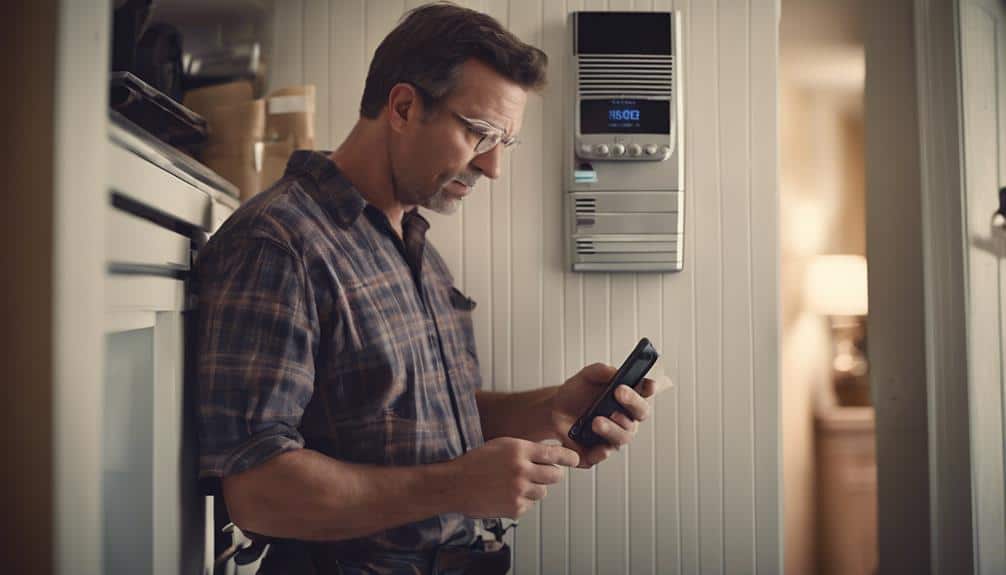
Reset Smart Thermostat

Resetting your smart thermostat can quickly fix connectivity problems with your HVAC system. By tackling this step, you're diving into a straightforward troubleshooting solution that might save you time and hassle.
If your smart thermostat seems out of sync, first try power cycling it. Simply turn it off, wait a moment, and then turn it back on. This action can refresh its functions.
For a more thorough reset, look for a reset button directly on the device. Pressing this can clear any glitches. Remember, resetting might require you to reconnect to your Wi-Fi, ensuring remote control capabilities.
Always follow the manufacturer's instructions closely. This ensures that you're not missing any important steps and that your thermostat will work as intended after the reset.
Contact HVAC Professional
When your climate control issues go beyond simple resets, it's time to call in an HVAC professional. Contacting an HVAC professional guarantees that diagnosing and repairing your system is done with the correct tools and equipment, ensuring a precise fix. They offer expert advice on optimizing your climate control system, ensuring it runs at peak efficiency.
- Expert Diagnostics: HVAC professionals have specialized training, ensuring accurate problem identification.
- Efficiency Optimization: Receive guidance on making your system more efficient to save on energy bills.
- Preventive Maintenance: Regular check-ups can avoid unexpected and costly breakdowns.
Frequently Asked Questions
How Do You Troubleshoot an AC Step by Step?
To troubleshoot your AC, first check filters and inspect fuses. Then, look for fan issues and coolant levels. Examine the compressor, inspect ductwork, and make sure electrical connections are tight. Finally, clear any clogged drain lines.
How Do I Reset My Climate Control?
To reset your climate control, start with the power cycle method. Check fuses, consult the manual for error codes, inspect the control panel, examine wiring, update software if needed, and assess ventilation for any blockages.
What Are the Troubleshooting Steps in Hvac?
To troubleshoot your HVAC, check the filter, inspect ducts, verify refrigerant levels, examine the compressor, assess the fan, confirm electrical connections are tight, verify ventilation, and analyze airflow. You'll quickly pinpoint the issue this way.
How Do I Troubleshoot My Thermostat?
To troubleshoot your thermostat, start with a battery check and wiring inspection. Address display issues and make sure temperature calibration. Verify mode settings and thermostat placement, check compatibility, and consider a firmware update for best performance.
Conclusion
You've meticulously gone through each step, from checking your thermostat settings to cleaning those important condenser coils.
If you've hit a snag, remember, it's not the end. Sometimes, a simple reset of your smart thermostat does the trick.
And if you're still feeling stuck, don't hesitate to call in an HVAC pro. They're your go-to for those tricky issues.
By tackling each part of the process, you're ensuring your climate control system runs smoothly, keeping your space comfortable all year round.