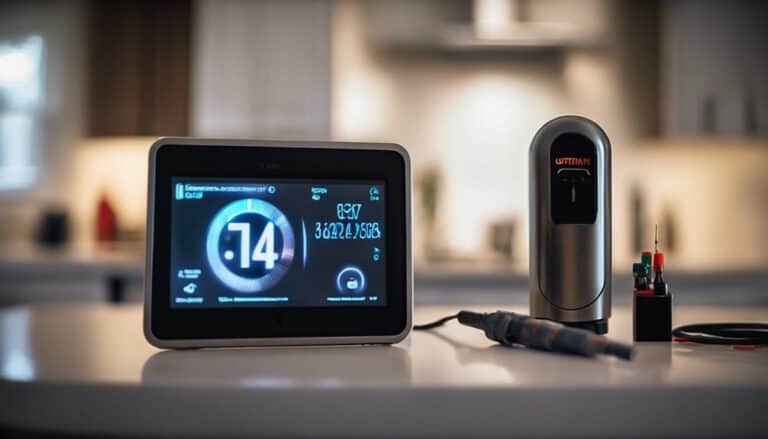
While the thought of installing a smart thermostat in your home seems challenging, armed with the right tools, it's an achievable weekend project. You'll need basic tools like a screwdriver, wire stripper, pliers, and a level, not to mention a bit of patience.
Before you start, turning off the power is essential to avoid any electrical mishaps. From there, the real journey begins with removing your old thermostat, deciphering the cryptic hieroglyphics of wiring labels, and ensuring everything's connected just right.
This process not only promises to enhance your home's comfort but also to trim down those energy bills. Stick around to uncover the steps that will bridge the gap between you and a smarter, more efficient home.
Key Takeaways
- Ensure compatibility with your HVAC system and no C-wire requirement for the chosen smart thermostat model.
- Safely remove the old thermostat, carefully documenting and labeling wires.
- Follow the manufacturer's wiring instructions or use a Power Extender Kit if a C-wire is necessary.
- Connect to Wi-Fi for remote access, energy monitoring, and integration with smart home apps like Cync.
Preparing for Installation
Before diving into your smart thermostat upgrade, it's important to safely power off your HVAC system at the breaker panel. This guarantees your installation process starts off safely.
Once that's done, you'll want to take a picture of your existing thermostat's wiring. It's a simple step, but it'll save you a ton of confusion later on.
Next, carefully label the wires based on their terminal connections. This little bit of prep keeps things crystal clear when you're hooking up your new gadget. If you spot any jumper wires, go ahead and remove them.
Choosing the Right Model

Selecting the right smart thermostat can make all the difference in upgrading your home's heating and cooling system efficiently. Before diving into your DIY project, make sure the smart thermostat you're eyeing is compatible with your HVAC system. This step is critical for a smooth installation process. Some models might require a C-wire for power; checking this compatibility is key.
Look for a thermostat that offers not just easy installation, but also features that meet your needs—like Wi-Fi connectivity and programmable settings. Don't skip on researching customer reviews. They're a goldmine for understanding the ease of installation and satisfaction levels with the thermostat. Remember, the right features and positive feedback from others can guide you to the perfect pick for your project.
Removing the Old Thermostat
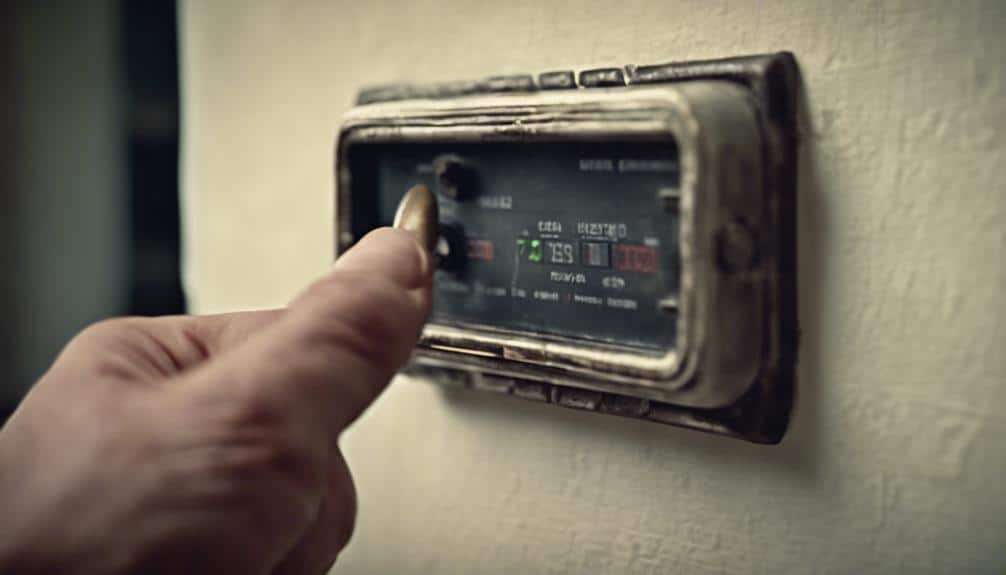
Turning off your HVAC system at the breaker panel is your first step in safely removing the old thermostat. This ensures you're working in a safe environment, free from the risk of electrical shocks.
Here's what you'll do next:
- Carefully remove the faceplate of the old thermostat to reveal the wiring behind it. A gentle tug or the use of a screwdriver might be necessary.
- Snap a clear photo of the wiring configuration. This acts as your cheat sheet for later, ensuring you won't forget where each wire goes.
- Identify and label each wire according to its terminal connection. This small step can save you a big headache later on.
Wiring and Installation
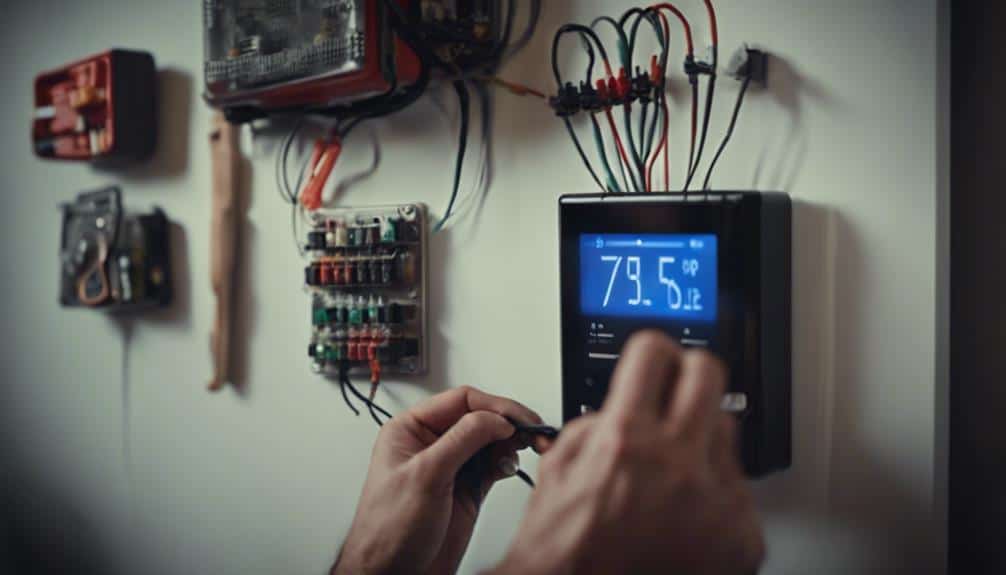
After labeling and disconnecting the wires from your old thermostat, you're ready to tackle the wiring and installation of your new smart thermostat.
Begin by considering if you need to add a C-wire. This wire is essential for providing continuous power to your smart thermostat, ensuring it operates efficiently within your smart home.
Follow the manufacturer's instructions carefully to install the new base and connect the wires to the correct terminals. If your HVAC system lacks a C-wire, a Power Extender Kit might be necessary. Securely attach each wire, double-checking connections to prevent issues.
Proper thermostat wiring is the backbone of a successful install, paving the way for a seamless integration of your smart thermostat into your home's Wi-Fi network, without delving into the specifics of Wi-Fi connection and setup just yet.
WiFi Connection and Setup
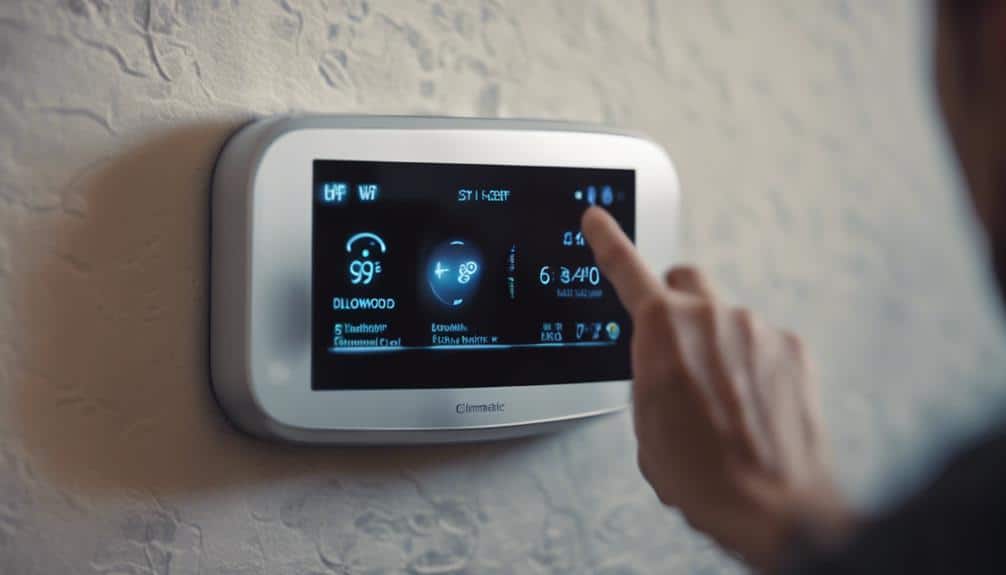
Ensuring your smart thermostat maintains a stable Wi-Fi connection is important for accessing its full range of features. A reliable wifi connection lets you tap into:
- Remote access to adjust your home's temperature from anywhere.
- Energy monitoring to keep tabs on your usage and potentially save on bills.
- Software updates that guarantee your device is always improving.
With the Cync App, you'll find it easy to integrate your smart thermostat into your smart home ecosystem for seamless automation. Strong Wi-Fi connectivity is key to making the most out of your smart thermostat, guaranteeing reliable communication between devices for a truly smart, efficient home. Wi-Fi setup is a simple, yet critical step towards achieving this goal.
Frequently Asked Questions
What Is Needed for a Smart Thermostat?
You'll want a smart thermostat that offers energy savings, precise temperature control, and mobile control. Look for one with zoning capabilities, easy installation apps, and a user-friendly interface. Don't forget to check compatibility and read reviews!
Can I Install Smart Thermostat Myself?
Yes, you can install a smart thermostat yourself! You'll need a compatibility check, Wi-Fi connection, installation tools, the user manual, to decide on a location, calibrate the temperature, set up the app, and update the firmware.
Do I Need an Electrician to Install a Smart Thermostat?
You don't need an electrician to install a smart thermostat if you're comfortable with safety precautions, understand wiring compatibility, have basic electrical knowledge, and the right tools. Check permit requirements and warranty concerns first.
What Wire Is Needed for Smart Thermostat?
You'll need a C wire for your smart thermostat. It's important for voltage requirements and guarantees wiring compatibility. Check wire labeling and terminal identification carefully. Also, consider wire gauge, insulation, and conductor types for multi-zone systems.
Conclusion
Now that you've tackled your DIY smart thermostat installation, you're all set to enjoy the perks of an energy-efficient, comfortable home. Remember, choosing the right model, carefully removing the old unit, and following through with precise wiring and setup were key.
Connecting to WiFi was the final step to access smart control. Don't forget to keep the manual handy for any troubleshooting. You've done great, and now it's time to reap the benefits of your hard work and savvy tech upgrade.