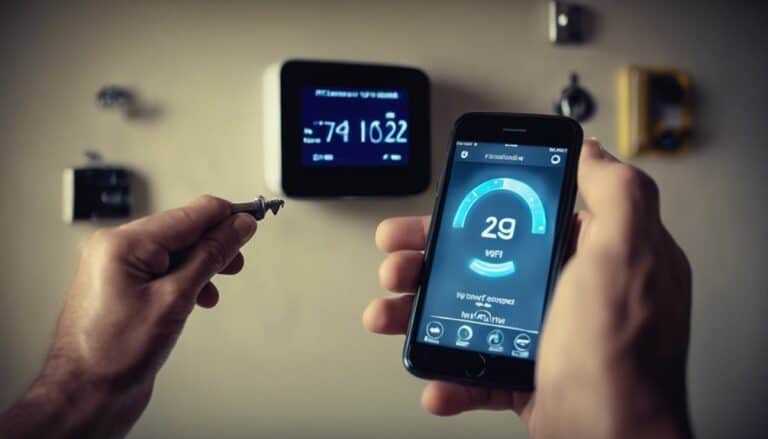
Is it true that setting up a smart thermostat yourself requires a certain level of expertise, or could you, armed with the right information and tools, tackle it confidently?
You'll need a bit more than just a screwdriver and enthusiasm. A key component is the C-wire, often overlooked, which powers most smart thermostats. If your current setup lacks one, don't worry; alternatives exist.
But there's more to ponder, from safely shutting down your HVAC system to integrating the device with your Wi-Fi and smart home apps. Let's explore what it truly takes to convert your home into a smarter, more energy-efficient space, shall we?
Key Takeaways
- Ensure you have a C-wire or consult a professional for alternatives to power the smart thermostat.
- Follow the manufacturer's wiring diagram and use a level for backplate installation to ensure stability.
- A stable Wi-Fi connection is essential for remote control and integration with smart home systems.
- Conduct a system test post-installation to verify the smart thermostat's performance and functionality.
HVAC System Shutdown
Before you start installing your DIY smart thermostat, it's important to safely shut down your HVAC system at the breaker panel to prevent any electrical mishaps. This initial step ensures your safety and protects your equipment from potential damage.
After you've turned off your HVAC, take a moment to verify that the system has indeed powered down. Try activating your heating or cooling to check; nothing should start up if it's correctly shut off.
Even if your old thermostat seems to be off, it could still be live due to batteries. It's critical to cut power to avoid electrical shorts. If you're ever in doubt or stumble upon thermostat covers with hidden screws that complicate removal, don't hesitate to consult an electrician or HVAC technician. Safety always comes first in these projects.
Old Thermostat Removal
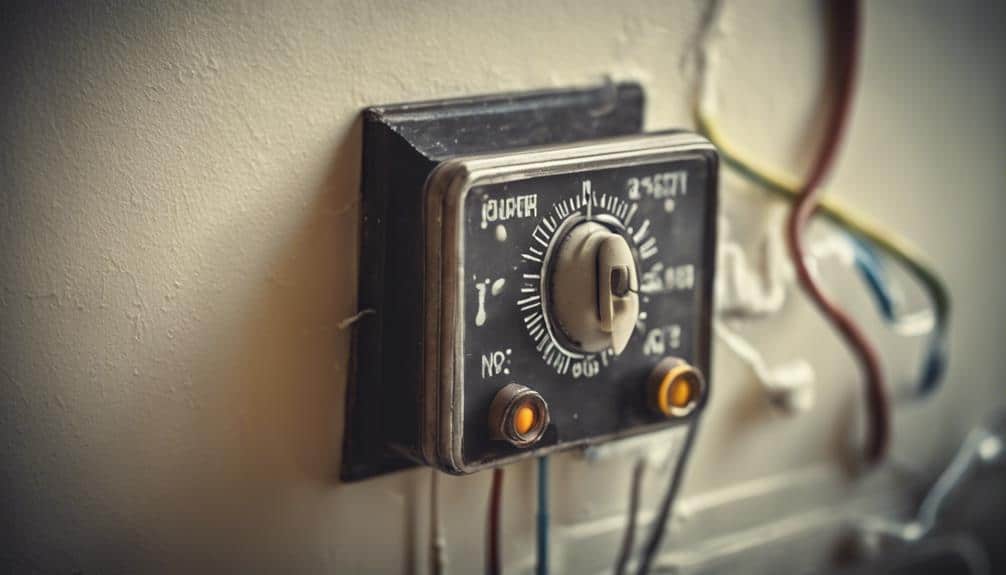
Having safely shut down your HVAC system, you're now ready to remove your old thermostat. Start by carefully removing the faceplate to expose the wiring. It's important to snap a photo of the wiring for future reference before you disconnect any wires. Make sure there are no hidden screws before attempting to remove the backplate of the old thermostat.
| Step | Tip | Reminder |
|---|---|---|
| Turn off your entire | Safety first at the breaker panel. | Avoid electrical hazards. |
| Remove the faceplate | Gently to access wires. | Keep track of any screws. |
| Photo of the wiring | Before disconnecting any wires. | Essential for reconnection later. |
With the backplate in place, you can proceed to safely disconnect the wires, following the specific instructions for your model.
Backplate Installation
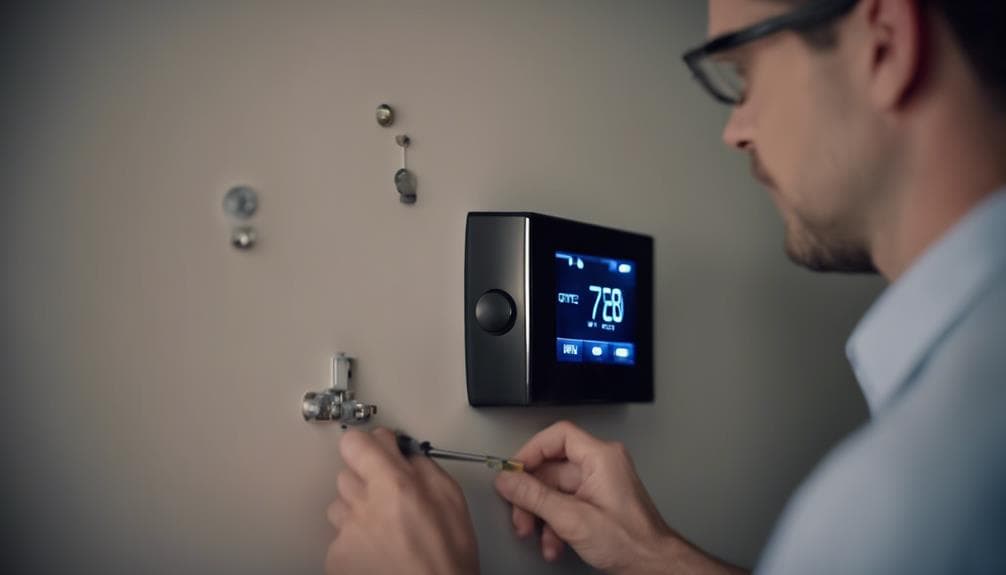
Now it's time to securely attach the backplate to the wall, guaranteeing a stable base for your new smart thermostat. This backplate acts as the mounting base and is crucial for a successful installation. Here's how you can do it:
- Position the Backplate: Place the backplate against the wall where your smart thermostat will reside. Use a level to make sure it's straight.
- Insert Wall Anchors: If your wall requires extra support, insert wall anchors into the drilled holes. This step guarantees the backplate will remain securely attached.
- Secure with Screws: Through the holes and slots designed for wires, drive screws to fasten the backplate securely to the wall.
C-Wire Assessment
Before you get your smart thermostat up and running, you'll need to check if you have a C-wire. This wire is essential for keeping your device powered and ensuring it works flawlessly.
If you're unsure, consulting an HVAC pro can clarify whether you need to add a C-wire adapter or run new wiring for your setup.
Identifying Your C-Wire
Are you wondering how to identify your C-wire for a smart thermostat installation? The C-wire, or common wire, is essential for the functionality and compatibility of most smart thermostats with your HVAC system. Here's how you can spot it:
- Check the Color: It's typically blue or black, but don't rely solely on this as wiring colors can vary.
- Examine Your Thermostat Wiring: The C-wire connects to the C-terminal on your thermostat.
- Consult an HVAC Professional: If you're unsure, it's wise to get help from an expert to make sure your DIY setup is seamless.
C-Wire Importance
Understanding the role of the C-wire can make a significant difference in how your smart thermostat performs. This common wire is key to providing your device with the continuous power it needs to keep you comfortable.
Without a C-wire, smart thermostats might struggle to maintain a steady Wi-Fi connection or power their displays and sensors effectively. Compatibility with your HVAC system hinges on this little wire, too.
If your setup lacks a C-wire, don't worry. Solutions range from adding new wiring, using adapters, or even upgrading your HVAC system for a smooth integration. It's wise to consult an HVAC professional. They can assess if a C-wire is necessary for your installation, ensuring your smart thermostat works flawlessly.
Template Usage
To guarantee your new smart thermostat fits perfectly, start by using the backplate as a guide to mark the wall for proper placement. This is where template usage becomes important. Here's how to make sure a smooth setup:
- Drill Holes – After marking, drill holes at the designated spots. If your wall requires it, insert wall anchors to make sure the backplate is securely attached.
- Connect Thermostat Wires – Gently pull the thermostat wires through the backplate. Using the manufacturer's wiring diagram as a reference, connect them to their corresponding terminals.
- Neat Installation – Before attaching the faceplate, tuck any excess wires back into the wall for a clean and neat installation.
Wiring Connection
Now, let's get your wires in order. You'll need to identify each wire type and match them to their correct terminals, ensuring your smart thermostat powers up without a hitch.
Don't worry, we've got a terminal configuration guide to help you through, step by step.
Identifying Wire Types
Before diving into your smart thermostat setup, it's important you know how to identify the various wire types your HVAC system uses. Thermostat wires are typically color-coded to simplify this process. Here's a quick guide:
- Red wires power your thermostat, while white wires manage heating.
- Green wires are for fan control, and yellow wires handle cooling.
- Blue or black wires, often referred to as the C-wire, provide continuous power.
Each wire has a specific function, ensuring your HVAC system operates correctly. It's essential for compatibility and communication with your new smart thermostat.
Proper labeling and organization of these wire types can prevent confusion and contribute to a successful setup, blending tech-savvy precision with the warmth of your home's comfort system.
Terminal Configuration Guide
Having familiarized yourself with the wire types, let's explore the terminal configuration guide to guarantee you connect each wire to its correct place on your smart thermostat.
Smart thermostats typically feature terminals labeled with letters for wiring connections, including R (power), C (common), W (heat), Y (cool), and G (fan). These letter labels correspond to specific wires from your HVAC system, ensuring everything operates smoothly.
Understanding this terminal configuration is important for a successful DIY setup. Always follow the manufacturer's wiring diagram for terminal connections to make sure proper installation. This step is key to harnessing the full potential of your smart thermostat, making your effort worthwhile.
Faceplate Attachment

Attaching the faceplate securely is important to make sure your smart thermostat works flawlessly and looks great on your wall. Here's how to make sure a secure attachment:
- Check for Hidden Screws: Before you start, locate any hidden screws behind the faceplate. These will need to be removed during the installation process to access the internal components.
- Handle with Caution: When removing or attaching the faceplate, be gentle to avoid damaging the wiring or internal parts of your smart thermostat.
- Fasten Securely: Once everything is in place, fasten the faceplate to the backplate firmly. This stability is important for both the functionality and aesthetic appeal of your smart thermostat.
WiFi Configuration
Now that your faceplate is securely in place, let's set up your smart thermostat's Wi-Fi to enable remote control and more.
A stable Wi-Fi connection is the foundation of your smart thermostat's functionality. It allows you to adjust temperature settings from anywhere using your smartphone or computer. With Wi-Fi configured, your thermostat can receive essential software updates, ensuring it runs smoothly and efficiently.
Plus, this connectivity is key to integrating your thermostat with other smart home devices, creating a seamless smart home experience. You'll be able to monitor and adjust your home's climate with just a few taps, ensuring comfort while optimizing energy use.
App Integration
With app integration, you can effortlessly control your smart thermostat from your smartphone, enhancing both convenience and energy efficiency. This feature transforms your phone into a remote control, allowing you to adjust your home's climate from anywhere. Here's how it elevates your smart thermostat system:
- Scheduling and Temperature Adjustments: Set your thermostat to automatically adjust based on your daily routine, ensuring your home is always comfortable when you're there and saving energy when you're not.
- Energy Usage Monitoring: Keep an eye on your energy consumption to make informed decisions about your heating and cooling habits.
- Geofencing: Utilize geofencing capabilities to have your thermostat automatically adjust settings based on your location, making your system even smarter and more energy-efficient.
Embrace app integration for a smarter, more connected home.
System Testing
Now that you've got your smart thermostat hooked up, it's important to test if it plays nicely with your system.
Let's walk through the steps to check its compatibility and make sure it's performing as expected.
Don't worry, we'll guide you through each part of the process, keeping things simple and safe.
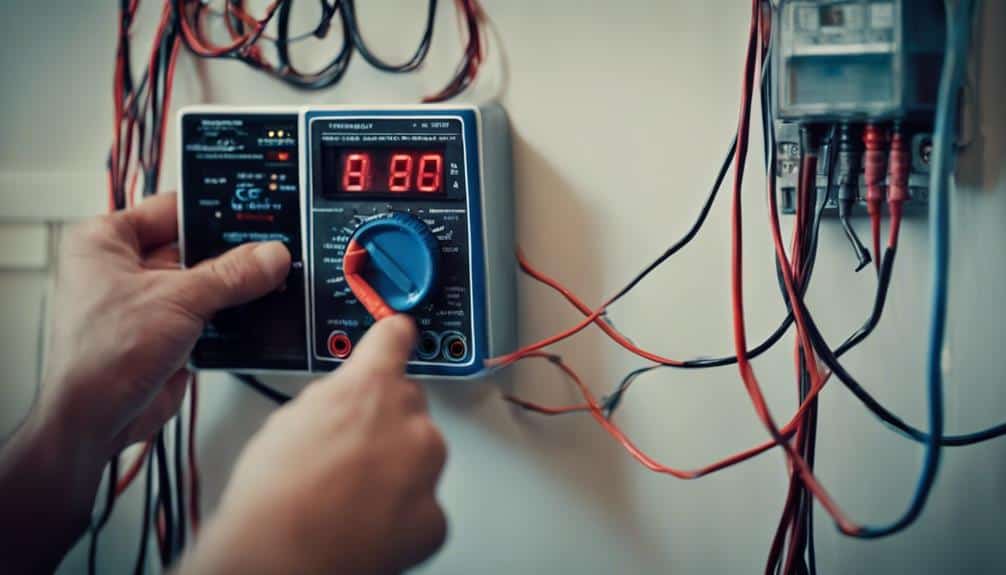
Initial Compatibility Check
Before installing your new smart thermostat, it's important to confirm it's compatible with your HVAC system by conducting an initial compatibility check. Here's how you can guarantee a smooth DIY setup:
- Turn off power to your HVAC system and thermostat to safely begin testing.
- Use manufacturer-provided tools or online compatibility checkers like Google Nest and Ecobee to assess if your HVAC system works with smart thermostat models.
- Look for high voltage wire labels in your system; these can be red flags for compatibility issues.
Performance Verification Process
After installing your smart thermostat, it's important to conduct system testing to make sure everything's working as expected. Turn on your HVAC system and observe if the smart thermostat powers up with the correct display.
Here's a quick checklist to guide you:
| Step | Task | Expected Outcome |
|---|---|---|
| 1 | Turn on HVAC system | Smart thermostat display lights up |
| 2 | HVAC communication | Temperature adjustments lead to expected HVAC response |
| 3 | Wi-Fi connectivity | Successful remote access through app |
This performance verification guarantees your smart thermostat is fully functional, enhancing both comfort and efficiency. Checking each point guarantees proper HVAC communication, reliable Wi-Fi connectivity for remote access, and accurate temperature control. It's a straightforward process, but critical for a seamless smart home experience.
Frequently Asked Questions
What Do You Need for Smart Thermostat?
You'll need smartphone compatibility, a Wi-Fi connection, and a thermostat that's compatible with your HVAC. For energy savings and climate control, pick one with voice commands. Don't forget installation tools and the user manual!
Can I Install Smart Thermostat Myself?
Yes, you can install a smart thermostat yourself! Just make a compatibility check, have basic wiring knowledge, tool availability, and a stable internet connection. Download the mobile app, read the user manual, follow safety precautions, and set your temperature preferences.
How Do I Setup My Smart Home Thermostat?
To set up your smart home thermostat, first check compatibility and connect to Wi-Fi. Follow the user manual, set temperature preferences through the mobile app, place sensors wisely, and explore geofencing and energy reports for efficiency.
Do I Need an Electrician to Install a Smart Thermostat?
You might not need an electrician if your wiring's compatible and you've got the right tools. However, for safety and to meet local regulations, read the installation guide and consider a professional consultation.
Conclusion
You've navigated the journey of installing a smart thermostat like a pro. From powering down your HVAC system to the exciting moment of testing your new setup, every step was critical.
Remember, the C-wire was key, but you'd options if it wasn't there. Now, with your thermostat connected and app integrated, you're set for smarter, more efficient heating and cooling.
Enjoy the comfort and savings your DIY skills have unblocked. Welcome to the future of home climate control!